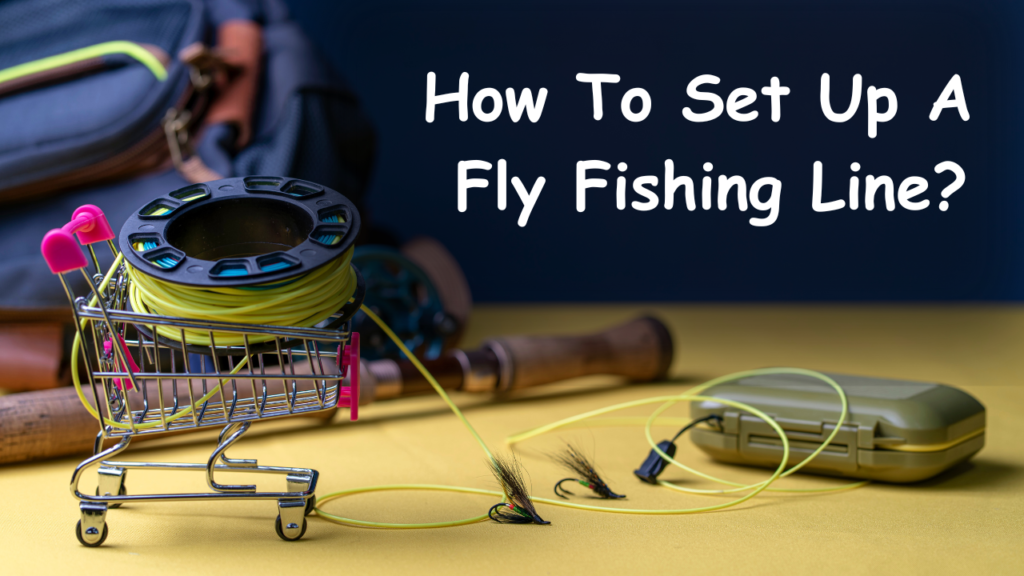
Fly fishing is a beautiful and peaceful form of angling that requires some specific gear and techniques. One of the most important components in fly fishing is the fly line. The fly line is the essential link between the angler and the fish, allowing you to cast your fly accurately and present it naturally to your target species.
Without a good quality fly line, you will not be able to reach your desired distance, achieve proper presentation or feel any bites. Therefore, it’s crucial to set up your line properly before hitting the water.

Table of Contents
Why fly fishing line is important?
Most people think that only a good rod or reel will determine successful fishing. However, it’s important to note that without an appropriate line setup, all those expensive gear pieces might become useless. Fly lines are designed to perform in certain situations based on their weight, taper design, length and material used in construction.
A well-constructed fly line will allow for delicate placement of a smaller dry fly with pinpoint accuracy. On top of that, it’ll also provide enough power in order to cast larger streamers or nymphs with ease – all while maintaining perfect control over the presentation throughout its drift on water.
Moreover, choosing an appropriate line can be determined based on various factors like wind conditions at fishing locations or target species available in that area. There are different types of lines available for specific purposes such as floating lines for surface fishing or sinking lines for deep waters where fish reside near bottom structures.
Setting up your fly fishing line appropriately is critical if you want success with catching fish while enjoying this peaceful sport.
Let’s move forward now and take a closer look at how we can choose the right type of fly fishing line suitable for our needs!
Read also: Can you fly Fish with a spinning rod?
Different types of fly fishing lines and their purposes
One of the first things you need to decide when setting up your fly fishing line is what type of line you want to use. There are three main types of fly fishing lines: floating, sinking, and sink-tip.
A floating line is the most commonly used type of fly line. As its name suggests, it floats on top of the water’s surface.
This makes it ideal for fishing dry flies or nymphs at or near the surface. It’s also great for beginners because it’s easy to cast.
Sinking lines are designed to sink below the water’s surface. They’re typically used for fishing streamers, which imitate baitfish or other aquatic life that swim beneath the surface.
Sink-tip lines are a combination of both floating and sinking lines. They have a sinking section at the end of the line, which helps get your fly down deeper while still allowing you to cast easily.
How to Choose the right fly line?
When selecting a fly fishing line, there are several factors you need to consider in addition to its purpose:
Rod weight: The weight of your rod will dictate what size/type of line is appropriate for your setup.
Fishing location: Different bodies of water require different types and weights of lines.
Target species: Certain fish species may require specific types or weights of lines in order to be successful. For example, if you’re fishing for small trout in a small stream with a light rod (say 3-weight), then a floating line would likely be your best option.
If you’re targeting larger trout in deeper water with a heavier rod (say 6-weight), then a sink-tip or sinking line might be more appropriate. Similarly, if you’re fishing for bonefish on a tropical flat, you’ll want a specialized line that’s designed to handle the unique conditions of saltwater flats.
Read more: Trout Fishing in the Rain: A Guide to Success
How to set up a fly fishing line?
Learning how to set up your fly fishing line takes some time but with proper instruction it can be an enjoyable process resulting in success on that next outing. In order to set up fly fishing line properly you need to follow 3 easy steps.
Step1: Setting up the reel
The first thing you need to do is properly attach the backing to your reel. Backing is a thin, braided line that goes on your reel before the fly line.
It serves two main purposes: providing extra length for long runs and acting as a reserve in case you hook into a strong fish.
To attach the backing, start by wrapping it around the spool of your reel two or three times.
Next, tie an arbor knot using either monofilament or braided line around the spool’s center arbor and tighten it down. Wind on enough backing so that when you add your fly line, there will still be some space left at the end of your spool.
Attaching the fly line to the backing using a nail knot or loop-to-loop connection:
Now that you have set up your reel with backing, you are ready to attach the fly fishing line. There are two primary ways to accomplish this – using a nail knot or loop-to-loop connection.
A nail knot involves tying a small piece of monofilament or nylon around both ends of your backing and then attaching it to your fly line using an overlapping wrap technique with a nail or other pointed object as leverage. Loop-to-loop connections involve creating loops in both ends of both lines and connecting them with knots that secure them together at each end.
Step 2: Adding a Leader and Tippet
Once you have your fly line set up on your reel, the next step is to add a leader and tippet to complete your setup. The leader is the clear monofilament line that attaches to your fly line and provides a gradual transition from the thicker fly line to the thinner tippet material that connects directly to your fly.
There are different types of leaders available depending on the fishing conditions and target species. For example, a shorter leader would be ideal for fishing in small streams while a longer leader would be suitable for still water or larger rivers.
The tippet material also varies in strength, diameter, length, and material type depending on the size of flies being used, water clarity, and target species. A lighter tippet might be recommended when targeting smaller fish or when fishing in clear water while a heavier tippet would be necessary for larger fish or when fishing in murky waters.
How to Attach the Leader to the Fly Line?
To attach the leader to your fly line using loop-to-loop connection:
- Create a loop at the end of your fly line by tying either an overhand knot or surgeon’s loop knot.
- Create another loop at the butt end of your leader using an overhand knot or perfection loop knot.
Step 3: Rigging up your fly rod
Once you have chosen your fly rod, it’s time to assemble it. Start by taking the individual pieces of the rod out of the sleeve or case they came in. Each piece will usually have a small marking near one end to indicate which end should be attached to the next piece.
Align these markings and slide each piece into the next until you reach the tip of the rod. It’s important to make sure that each piece is properly aligned and securely fastened in place before moving on to attaching your reel.
Give each section a slight twist as you assemble them, so they lock firmly together. If there are any loose sections, your casting accuracy can be affected.
Attaching your reel with line, leader, and tippet already set up:
Now that your fly rod is assembled correctly, it’s time to attach your reel with the line, leader, and tippet already set up. Start by threading the backing through the guides on the bottom section of your fly rod before attaching it onto the reel spool.
Next, attach the fly line onto the backing using either a nail knot or loop-to-loop connection. Afterward, connect a leader to this setup using another nail knot or loop-to-loop connection.
Connect tippet material to this setup with either blood knots or double surgeon’s knots until you get a long enough leader for fishing. Make sure all knots are secure before casting off into water!
Real also: Does Fly Fishing Catch More Fish? Yes! but how?
Conclusion
Now that you have learned how to set up your fly fishing line, let’s recap the steps needed to make sure you’re ready for your next fishing adventure.
Before you start casting out, it’s important to test your setup by checking for any knots or twists in your line and practicing casting techniques. Remember that setting up a fly fishing line is only part of the process for having success on the water; proper casting technique comes with practice as well as understanding fish habitat in order to know where they are likely to be feeding when you cast.
